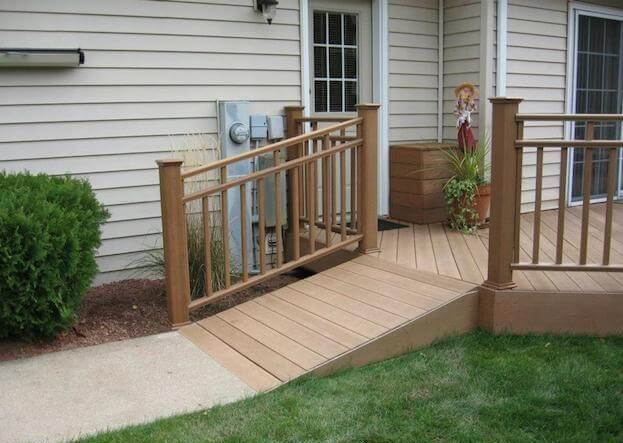
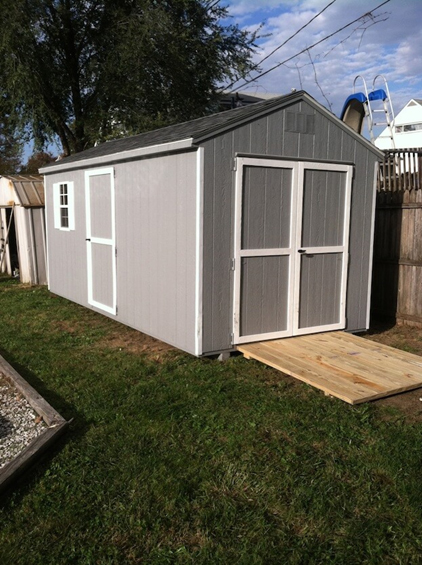
Easy access to our homes and other homes is a privilege not everyone has. The easy way to make sure your home is easily accessibly by everyone is by installing or building a wheelchair ramp.
There are plenty of handicap ramps out there, but those of you who decide to take on this project by yourself, versus hiring a pro, could save up Below, I will discuss all the requirements needed to build a basic handicap ramp, as well as all the materials, tools and steps needed to complete this challenging DIY project.

Planning is Key
If you were going to remodel your entire kitchen, you would want know exactly how many cabinets you need to build, their size and location. Essentially, careful planning needs to take place before you start anything. This rule holds true for building a wheelchair ramp.
You have to determine how much weight this ramp is going to hold. Some people use handicap ramps to just carry items into the home or move anything on wheels. Most homeowners, however, use them for occupied wheelchairs. Clearly, the weights of the two are very different. Before you buy materials, estimate the maximum weight the ramp will hold.
Next, you must consider the width and slope of the ramp. Very steep ramps are hard to use but low slope ramps take up much more space. Essentially, you have to decide what works best for your home. More often than not, homeowners go with a steep ramp to take up less space.
Cost of Materials
You are certainly saving a buck or two by building the handicap ramp yourself, but your materials can also have a huge effect on the total price of the project.
Wheelchair ramps are usually made of concrete, aluminum or wood. To no surprise, concrete is the most expensive, but it is also your best bet for the long term. Concrete is also the more permanent option.
Aluminum is a bit cheaper than concrete, but it is also lighter and weather-resistant. As these ramps are most likely going outside, standing up to outside conditions is vital.
Finally, wood is the cheapest option on the market and the easiest material to use if you are building without a pro. The biggest drawback is that wood needs maintenance over time. The other two options do not.

Tools Needed
With planning and costs out of the way, it’s time to start building. The tools you will need to build a basic wood ramp are:
- Wood (2X12 boards or other lengths you prefer)
- Drill
- Screws
- Galvanized Nails
- Brackets
- L-Brackets
- Crescent Wrench
- Screwdrivers
- Hammer
How to Build A Handicap Ramp
There are wheelchair ramp kits at virtually all major hardware stores, but for the sake of this project, I will assume that you did not purchase such a kit and are building the ramp on your own. This ramp will be a removable wood wheelchair ramp.
The Ramp
Let’s first start off with your wood planks. Since you figured out all measurements in the planning stage, you should know exactly how many boards you need for the desired width. We must first attach those boards.
Line up the boards side-by-side. Make sure they are flush and level. In most cases, wood ramps are composed of three 2X12 pieces. With all three boards together, place a 2X4 or any other piece of wood across the back of the three pieces. Nail in the 2X4 to all three pieces behind it. It should be perpendicular and connected to each piece.
Bear in mind, if you’re building a shallow ramp, a 2X4 may not fit under the ramp. If that is the case, you will have to use thinner pieces of wood. When you go to the store, give them all the measurements as they can cut the exact pieces of wood you need.
Bottom Bracket
Now that we have our actual ramp, we have to connect the top and bottom brackets. These brackets make it easy to enter and exit the ramp. They are often made of aluminum. You can most likely buy bottom and top brackets for your wheelchair ramp at a hardware store.
Let’s start with the bottom bracket. You must first connect your L-brackets to the edges of the bottom of your ramp. These brackets are used to hold the bottom bracket in place while in use. Many homeowners leave more than enough space (or a slot) between the bottom of the ramp and the L-bracket so you can easily remove or add the bottom bracket.
Take your drill, screws and connect one L-bracket to each side of the ramp. Then, take your bottom bracket and fit it in between the L-bracket and the ramp. It should be firm, but not too tight.


Your Message